Tuesday, October 28, 2014

Sunday Supper: Crockpot Lamb & Roasted Potatoes

This past weekend I had a hell of a time spinning my wheels. I felt like everything I tried to get accomplished just wouldn't give. At one point I found myself in Lewiston, 40 minutes away, arguing (and losing) with the Subaru car dealership people and then trying to seek solace in Costco, before I realized I didn't even have the AmEx! The only credit card they take! But at least they take debit cards.

So clearly I had to take advantage and get something I can't get at Safeway or any other little grocery in Pullman. Which I guess is pretty much anything. I mean I have a pretty hilarious list of foods employees at Safeway have never heard of (chia seeds, hazelnuts, prosciutto!). But I wasn't here to make a meat & cheese board. I needed something hearty, for the slow cooker.

I found a leg of lamb and did a quick Google search to see if I could crockpot it. Dinner with Julie said I could. So I decided to do the whole lamb and potatoes her way. Only I made a few modifications, as I tend to do these days. I amped up the lemon, garlic and rosemary and cut the lamb in half, because it was still plenty. Then Rob whipped up a gravy with the drippings. The potatoes I kept exactly as was written. I was a little skeptical of adding liquid at 15 minute intervals, but they came out well-roasted, if not a little under-salted, which always surprises me considering how many turns of Himalayan pink sea salt I cracked onto it. Easy fix at least. 

In the end, everything came out great! Which is fortunate, because we had company.

It was nice to have something go my way.

Slow-cooked Leg of Lamb with Garlic, Lemon & Rosemary
1/2 boneless leg of lamb (cut down the middle so the remaining pieces are relatively square)
1 lemon
5 garlic cloves
2 sprigs fresh rosemary
1 Tbsp. olive oil
1 tsp. coarse salt
1 tsp. freshly ground black pepper
1/2 cup water
1/3 cup red wine
On a chopping board, pat your lamb dry with paper towels. Grate the zest off the lemon and grind into a paste with the garlic, rosemary, oil, salt and pepper using a mortar and pestle or food processor. Rub the paste all over the lamb. If you like, let it sit on the countertop for half an hour or so, or refrigerate for a few hours or overnight.
Put it into the CrockPot. Add water and wine. Squeeze the juice of the lemon on top. Cover and cook on low for about 5 hours.
Lamb Gravy
There will be all sorts of delicious liquids in your crockpot when the lamb is done. While it's sitting out to rest, put the liquids into a saucepan and add a little sage, salt, pepper, a splash of wine and enough flour to thicken, stirring constantly. 
Lemon Potatoes with Garlic and Oregano
3 lbs. Yukon gold or baking potatoes, peeled and cut into 1 1/2 inch pieces
1/2 cup olive or canola oil
4 garlic cloves, crushed or thinly sliced
1 1/2 tsp. dried oregano, crumbled
1 tsp. salt
Freshly ground black pepper
1/2 cup beef or chicken stock
1/3 cup lemon juice
chopped fresh oregano (optional)
Preheat oven to 400°F. Spread the potatoes in a single layer in a 9″ x 13″ baking dish and pour the oil over them. Add the garlic, dried oregano, salt and pepper to taste and toss well to coat with the oil.
Roast the potatoes for 15 minutes. Add the stock, toss and bake for 10 minutes more. Add the lemon juice, toss and bake for 10 to 15 minutes more, or until the potatoes are golden and cooked through. If you like, sprinkle with fresh oregano.

Monday, October 27, 2014

Churning out that Apple Butter


I'm thinking I might do a string of posts about apples. Because I still have that bushel of apples from my friends' yard and I'm running out of things to do with it! 

But I do have to hand it to myself for finding new ways to use them up. Life gave me apples and so I made... apple butter.

The plum butter was good and all, but this apple butter tops it. By a lot. I slow cooked the apples in cinnamon and spices for 24 hours and the next thing I know I'm spreading liquid apple pie on my toast. Cracker Barrel ain't got nothin' on me!

I adapted this recipe from Brown Eyed Baker. Enjoy!


INGREDIENTS:

6½ pounds apples, peeled, cored and sliced (I used as much as would fill up 3/4 of the crockpot)
1 1/2 cups sugar
1/2 cup honey

1 cinnamon stick
A dash of nutmeg, salt and allspice
A splash of vanilla extract

DIRECTIONS:

1. Place apples in slow cooker. Mix in sugar, honey and spices. Cook on low for 23 hours.
2. Stir in vanilla extract, breaking up any large chunks of apples that remain. Uncover and cook for an another hour to thicken.
3. Use an immersion blender to puree the apple butter until completely smooth. 
4. After sterilizing Mason jars in boiling water, spoon mixture to the top of each jar. Boil jars with apple butter inside for 10 minutes. Make cute labels because you feel like it. Give them out to your friends to buy their love and affection.


Sunday, October 26, 2014

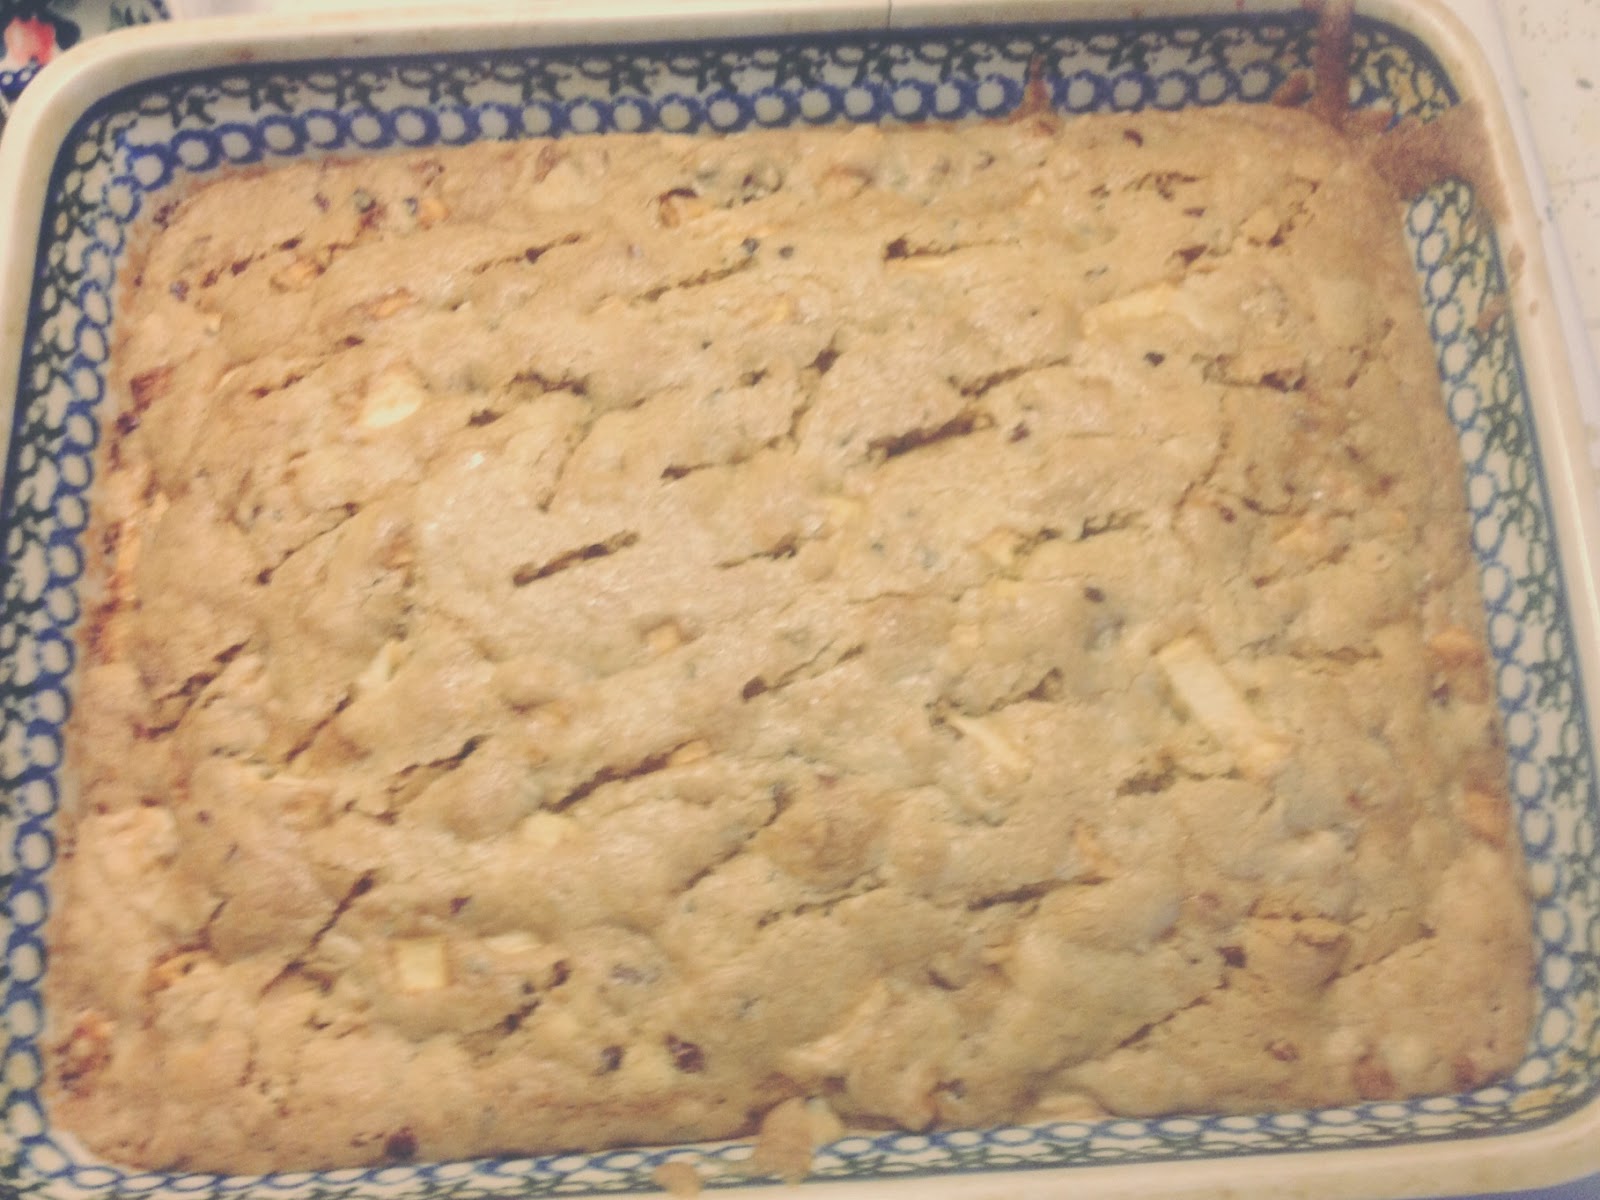
Aunt Ruth's Apple Cake


I have a confession to make. While this apple cake recipe originates from someone who is technically in my family, she is not actually my aunt. In fact, I've never even met her. Ruth was my cousins' great-aunt. At least, I think she was. Maybe she was their regular aunt. All I know is that everyone always gushed about Ruth, including my own grandparents, who apparently loved Ruth more than they cared for their own daughter-in-law. Ah, families by marriage.

Anyway, it well well-known in my family that this Ruth person had a knack for cooking in the kitchen. So when I saw on Facebook recently that a friend of my cousin's posted Ruth's apple cake recipe (with permission from my cousin, of course), I'd barely scanned the ingredients before I was off the grocery store to make this thing happen before the recipe disappeared or something. Ruth's apple cake! I wasn't even quite sure what apple cake was, but I was ready to make it appear.


I had the typical meditative joy I get from baking a long-favored family recipe. Ahh, the apple chopping, the egg beating, the flour sifting. But then. Then I stuck the thing in the oven and within a few minutes, the kitchen smelled eerily amazing, like I was being visited by the ghost of October pastries. I felt as though I should be someone's grandmother, baking up this delicious, old-fashioned thing. And that this baking apple scent right here? This should really be someone's first memory. I wished my godbaby was not 3,000 miles away because I feel like this apple scented air wafting from the oven could really bring her into consciousness.

The second mind-blowing thing about this recipe is the glazed topping. Butter, brown sugar and evaporated milk. That's it. HOW did I never know that these three simple ingredients blend together to create this thick, syrupy caramel of the gods in about two minutes flat? How can I live with this knowledge now? I want to put this stuff on everything. Pancakes, cookies, bananas, apples, gummy bears, EVERYTHING. But yeah, it works pretty well on top of the cake too, because you punch holes in the top layer and let it melt on down into the moist interior of the fluffy cake.

And so, because I'm sure I didn't talk it up too much, here it is. Aunt Ruth's apple cake. 


Aunt Ruth's Apple Cake

Ingredients
3 eggs
1 1/4 cups cooking oil
2 cups sugar
1 tsp. vanilla
3 cups flour
1 tsp. baking soda
1 tsp. cinnamon 
1 c. pecans, chopped
3 cups apples peeled and chopped

Topping
1 c. lt brown sugar
1 stick butter
1/4 c. evap. milk. 

Directions
Grease a 9x13x2 pan. Preheat oven to 300 degrees. Beat the eggs. Add the oil, sugar, and vanilla. Sift together the dry ingredients. Add the flour mixture to the egg mixture. Fold in apples and nuts. Batter will be stiff. Pour in prepared pan and bake for 1 hour and 15 minutes. 


To create the topping, combine ingredients in a saucepan and bring to a boil. Boil 2 minutes. Remove from the heat and beat with a spoon until thick. Poke holes in cake with a toothpick and pour the topping mixture on the care in the pan while cake is still hot.

Saturday, October 25, 2014

Pumpkin Chocolate Eclair

When I was a kid, I remember my parents having two go-to recipes for bringing dessert to a friend's house: Lemon Delight and Chocolate Eclair. Both were no bake, no fuss, easy to assemble. Mom and Dad usually preferred the lemon stuff because they made it in that glass trifle dish that added to its 70s appeal, but I would usually beg for the eclair, and they would usually give in. Also I loved it so much they would make two of them so I wouldn't be tempted to eat it all at the guest's house. You know, manners and all that.

Anyway, fast forward to an invitation to a dumpling party a few weeks ago and I was like: a-ha! I know what I can bring. Chocolate eclair! So I hunted down my Dad for the recipe and, at 31, I finally made it myself to bring to a friend's house. Only I forgot to make a second one to stash at home and dang! No leftovers. I was hungry for more.

Fast forward another weekend or two and I'm invited to a Harvest Party by my friend with the chickens and the apples and all that (of course). I was skeptical that they would put us to work harvesting their crops. But in reality the harvest party involved lots of chili and spiced cider and a fire and a couple pinatas. 

Aaanyway, to add to the October feel of this whole party, I decided I wanted to amp up the chocolate eclair and make it... with pumpkin. Because surely no one in the history of October has ever done such a thing. (A quick Google search proved me wrong, but you know what? No one out there has THIS recipe).

And so it is with pumpkin-spiced relish that I will share this recipe, one that is 95% my childhood and 5% my own heartfelt contribution of autumn (Read: pumpkin pie in a can)*.


Pumpkin Chocolate Eclair

Ingredients
1 package graham crackers
2 small packages instant vanilla pudding
1 8oz package of Cool Whip
15 ounces pumpkin pie mix


Frosting
2 oz unsweetened chocolate
2 teaspoons agave nectar
2 teaspoons vanilla extract
3 tablespoons butter
1 1/2 cup confectioner's sugar
3 tablespoons milk

Directions
Make pudding according to package directions, but leave out 1/2 cup milk. Fold in Cool Whip and pumpkin pie mix.

Line a 9x13 pan with graham crackers. Pour half the mix on top. Add another layer of graham crackers, the rest of the pudding, and the top with a final layer of graham crackers.

To make the frosting, prepare a double boiler by placing a mixing bowl over a pot with a small amount of boiling water. Melt the butter and chocolate. Then add the rest of the ingredients and beat until smooth. Spread on top.

Refrigerate at least 24 hours to let all the flavors marry and the graham cracker to get nice and mushy. I'm not kidding! 24 hours at least.

Cut into squares and serve.

Don't forget to make a second one to hoard at your house and delve into when no one is looking.


*I also replaced white karo syrup with agave nectar because, what the heck is karo. Also the original recipe uses a microwave for the chocolate but I'm a sucker for the double boiler method.


Tuesday, October 21, 2014

Spaghetti Squash: Proof that Mother Nature was an Italian

It's mid-October now and I can't get my hands on enough squash. Butternut! Acorn! Baked, soups, sautee! 

Yesterday, I had a spaghetti squash laying around from last weekend's trip to Trader Joe's in Spokane (a somewhat rare and much joyous occasion). With an hour to go between me getting out of work and Rob needing a ride home from school, it seemed a perfect thing to prep while being kind of lazy about dinner, too. I needed something to cook while I FaceTimed with a friend. Then I could broil the last bits up after I was done making goofy faces in the little corner of her phone, because spreading joy is demanding like that.

Anyway, this Lasagna Stuffed Spaghetti Squash recipe was perfect for timing, but I was a little skeptical about blending marinara and cheese in a squash. Even if it is a spaghetti squash.

This recipe has changed my whole understanding of the versatility of a gourd. The added sweetness of the squash worked so well with the Italian flavors I had to wonder why I hadn't substituted every pasta dish I've ever had with this stuff. Plus, we got the extra veggie serving without the added carbs! Because let's be honest, a little side dish of green veggies isn't getting touched willingly when I eat hearty like this.

I adapted the recipe a little to fit what I had on hand, to limit the amount of cooking utensils I might have to dirty, and to shorten the amount of time I had to spend at the stove. Honestly though, I don't think you can mess this thing up. A spaghetti squash, like yours truly, is as buoyant as its Sicilian ancestors*. 


Meaty Stuffed Spaghetti Squash
  • 1 medium spaghetti squash
  • olive oil
  • salt and pepper
  • 1/4 lb ground sausage
  • 1 small can tomato sauce
  • Oregano, basil, parsley
  • 1/2 cup part skim ricotta cheese
  • 1/2 cup shredded part skim mozzarella cheese

  1. Preheat oven to 400. Slice spaghetti squash length wise and scrape out the seeds. Rub 1/4 tbsp olive oil into each squash half and season with salt and pepper. Place spaghetti squash half face down in a large baking dish and bake for 1 hour.
  2. In a large pan, sautee sausage until cooked. Add sauce and season with herbs. Simmer until thickened.
  3. When spaghetti squash is fully cooked, flip in the baking dish so that it is now skin side down. Spread ricotta in the indentation, and fill the rest with meat sauce. Top each half with mozzarella cheese.
  4. Turn oven to broil, and cook for an other 2 minutes, until cheese is browned and bubbling. 


*Yes, I realize spaghetti squash does not actually share my heritage.

Tuesday, October 14, 2014

Crockpot Cinnamon-Vanilla Plum Butter

I'm not used to being in surplus of a lot of things. Certainly not produce. I used to overpay for about five or six pieces of fruit at a time at the corner stand. But now here I am visiting a friend after work and coming home with bushels of apples and crates of grapes and a bucket of plums. 

I've been taking my time eating everything. Making a dip for the apples with melted chocolate chips and granola crumbles, juicing the grapes with a steam pasteurizer,  whipping up apple cake and berry cobblers. But those plums get mushy and start attracting those tiny fruit flies fast, so I needed something that used all 5+ pounds at once. I needed to make a plum butter.

But I didn't want to mess with it! The canning part would be time-consuming enough. The rest had to be easy.

I researched a few recipes before I combined the best of them and freestyled in the crockpot. Here's what I came up with.


I filled the crockpot up with the best looking plums and tossed the mushy ones. The bees got into some of those. Or so I was told.

The plums were washed and pitted. I mixed in about 2.5 cups of sugar, set the crock pot on low, and let it cook for about 24 hours.

The juice starts to fill up the pot after the first hour or so. The goal is to thicken that stuff up. Keep checking on it and stirring it when you get a chance. For the last 8 hours or so, I left the lid open a little bit to let evaporation help out.

For the last hour, I bumped the heat up to high and took the lid off entirely. That gave me enough time to boil all the jars to sterilize them properly.

Before I canned them, I added a few dashes of cinnamon and a good splash of vanilla extract. Next time I would add a whole cinnamon stick and a whole vanilla bean for that last power hour. It would be hard to overspice this stuff. I mean, if you think about it, it's only like a tiny dash of cinnamon per plum. It smells warm and spicy and just like October.

Then I filled the sterilized Mason jars with the sticky jammy stuff, boiled them another ten minutes, and set them out to seal.


And that's it! My favorite crostini so far is a toasted slice of sourdough with butter, plum butter and a swirl of honey on top. It needs a dollop of ricotta and it will be autumn umami.


Plum Butter

- A crockpot full of washed and pitted plums
- 2 1/2 cups sugar
- ~2 TBS vanilla extract (or 1 vanilla bean)
- ~2 TBS cinnamon (or 1 cinnamon stick)

Turn crockpot on low for about 16 hours. Prop open the top and leave on low another 8 hours. Crack up to high and take the top off entirely while you sterilize the Mason jars. Add a good drop of vanilla extract and a few shakes of cinnamon, or if you can, add a whole vanille bean and cinnamon stick. Fill each jar to the top, seal, and boil for ten minutes. Set out and listen for that sweet popping sound. Store in the fridge once opened.